

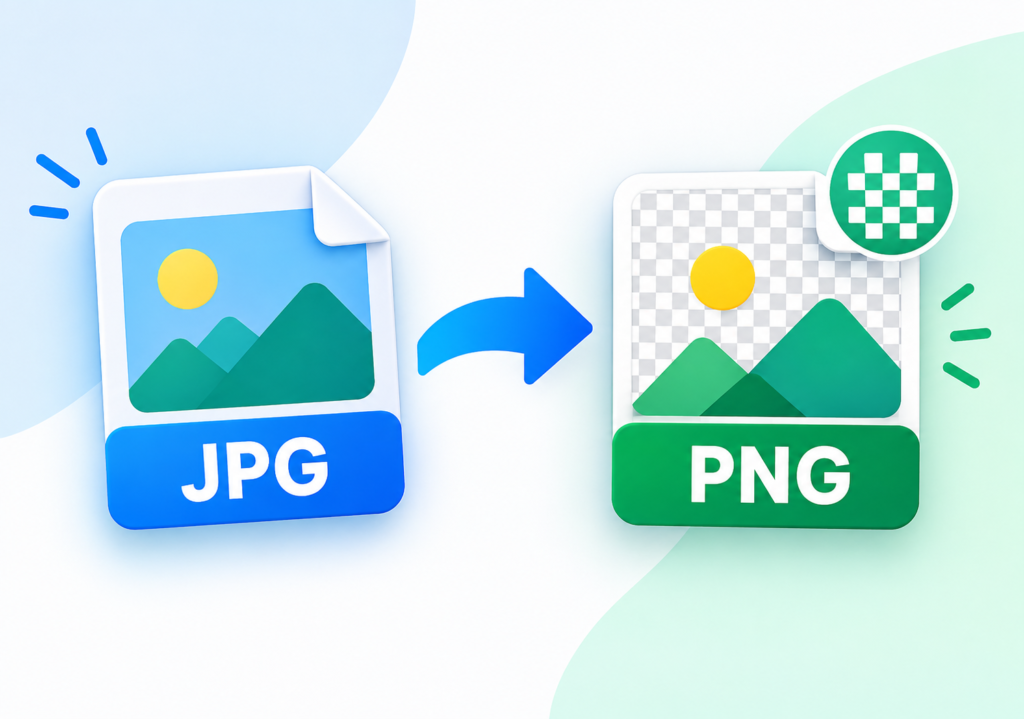
How to Convert JPG to PNG with a Transparent Background
You have a JPG photo or logo, and you need it as a PNG with no background so it sits cleanly on a website, a presentation, or a product page. It sounds like one simple conversion, but there’s a catch most guides skip: changing the file format does not make the background transparent.
This guide explains why, and walks you through the right way to do it.
Why Converting JPG to PNG Doesn’t Make It Transparent
JPG (or JPEG) is a format designed for photographs. It compresses images well, but it has no transparency channel. Every pixel in a JPG has a solid color, so a white background is stored as actual white pixels, not as “empty” space.
PNG is different. It supports an alpha channel, which lets pixels be fully or partly transparent. That’s why PNG is the standard for logos, icons, stickers, and cutouts.
So when you convert a JPG to PNG, you get a PNG file, but the old white (or colored) background comes along with it as solid pixels. To get transparency, you need two steps:
- Remove the background so those pixels become transparent.
- Save the result as a PNG so the transparency is kept.
Step 1: Convert Your JPG to PNG
Start by getting your image into PNG format. The fastest way is an online converter:
- Open a free converter such as the JPG to PNG Converter on Toolharo.
- Upload your JPG file.
- Convert and download the PNG.
This gives you a PNG that’s ready for editing. Many background removal tools accept PNG directly, and converting first makes sure the file is in the right format for the next step.
Step 2: Remove the Background
Pick the method that fits your situation.
Method 1: Use an online background remover (easiest)
Automatic tools detect the main subject and erase everything else in seconds. They work best on images with a clear subject, such as a product on a plain backdrop, a person, or a logo.
- Upload your image to a background removal tool.
- Wait a few seconds while the tool detects the subject.
- Check the preview. The background should appear as a checkerboard pattern, which is how editors display transparency.
- Download the result as a PNG.
Best for: quick jobs, product photos, profile pictures.
Method 2: Use Canva
Canva’s background remover is popular with non-designers, though the feature is part of its paid plans.
- Upload your image and add it to a design.
- Select the image and choose the background remover option.
- Download the design as a PNG and tick the transparent background option.
Best for: people who already use Canva for social posts or marketing graphics.
Method 3: Use Photoshop or a free editor like GIMP or Photopea
For complex images, such as hair, fur, or fine details, manual control gives better results.
- Open your image and unlock the background layer.
- Use a selection tool (Object Selection, Magic Wand, or Pen tool) to select the subject.
- Invert the selection and press Delete to remove the background.
- Refine the edges if needed.
- Export as PNG with transparency enabled.
Best for: professional work and detailed edges.
Method 4: Use built-in tools on your phone or computer
Recent versions of iPhone, Android, and Windows include tools that can lift a subject out of its background. On an iPhone, for example, you can touch and hold the subject in a photo and copy it as a cutout. These are handy for quick, casual edits, but they give you less control over edge quality.
Step 3: Save It as a PNG (Not a JPG)
This is where many people go wrong. If you remove the background and then save as JPG again, the transparent area gets filled with white or black. Always export as PNG.
To check that it worked, open the file on a colored background, or in an editor that shows a checkerboard pattern. If you see the checkerboard behind your subject, the transparency is working.
Tips for Clean Results
Start with a high-quality image. Sharp, well-lit images with a clear contrast between the subject and the background give the best results. Blurry or low-resolution files lead to rough edges.
Choose a simple background when possible. If you’re taking the photo yourself, a plain, evenly lit background makes removal far more accurate.
Zoom in and check the edges. Look for leftover halos, jagged outlines, or missing pieces. Most tools let you touch up these areas with a restore or erase brush.
Watch out for similar colors. If your subject and background share colors, such as a white shirt on a white wall, automatic tools may struggle. Manual selection works better here.
Keep a copy of the original. Save your JPG separately in case you need to redo the edit.
When Should You Use a Transparent PNG?
Transparent PNGs are useful in many situations:
- Logos that need to appear on different colored backgrounds
- Product images for online stores
- Website graphics, icons, and overlays
- Presentations and documents, so images blend into the slide
- Stickers, thumbnails, and social media designs
Common Questions
Can I make a JPG transparent without converting it?
No. JPG doesn’t support transparency, so you must end up with a format that does, such as PNG.
Will converting JPG to PNG reduce quality?
No. PNG uses lossless compression, so the conversion itself doesn’t degrade the image. However, a PNG made from a JPG can’t restore detail that the JPG already lost, and file sizes are often larger.
Why is my PNG background white instead of transparent?
Usually the background was never removed, or the file was exported with a solid background. Remove the background first and make sure transparency is enabled when you export.
Is it free?
Yes, you can do the whole process for free using an online converter plus a free background remover or editor such as GIMP or Photopea.
Final Thoughts
Getting a transparent PNG from a JPG comes down to two actions: remove the background, then save as PNG. Convert the file format first, use a background remover that suits your image, and always export as PNG to keep the transparency.
Ready to start? Use our free JPG to PNG Converter to convert your image in seconds, then follow the steps above to remove the background.